Thursday, October 30, 2014

The Most Delicious (and Easy) Baked Beans You'll Ever Make (and They Make A Great Freezer Meal!)


These baked beans are enjoyed by everyone in our house.  They are also great to take along to a potluck (or pitch-in, community meal, whatever you may call it).  They can be cooked in the oven, or thrown in the crock pot to cook for a few hours, then can be kept warm to enjoy at leisure.  Husband has taken them to work in a crockpot.  They don’t all take the same lunch hour, so it worked great.  Husband turned them on low for about 3 hours (I don’t think he even stirred them) and then set them on warm until everyone had the opportunity to eat.  It worked great.  These also freeze well and can be pulled out and cooked from a frozen state.  We always make extra for the freezer.
This is my set up to make several batches


Here they are ready for the freezer and one lucky batch gets to be eaten tonight
 
I put the heavy duty lids on the freezer ones so that they are less likely to get smushed when they are stacked.  Notice the little food lover helping me out.

Before putting food in the pans, label the sides of them, as shown, so that you don't have to move everything all around to figure out what's in there.


Baked Beans


Ingredients

·         1 lb bacon, cooked and crumbled  *click here for an easy way to cook your bacon!*

·         1 lb ground beef, browned and drained

·         1 onion, diced, sautéed with ground beef

·         1 large can Bush’s Baked Beans, original

·         1 can kidney beans

·         1 can lima beans, drained

·         ½ c brown sugar

·         ½ c white sugar

·         ½ c ketchup

Preheat oven to 350℉.   Cook and crumble the bacon.  Baking the bacon in the oven is the easiest.  Brown the ground beef with the onion.  While the meat is cooking, mix the beans, brown sugar, white sugar, and ketchup in your 9x13 pan.  Once the meat is done, add that to the bean mixture.  Stir to combine.  Cover with aluminum foil and bake for approximately 2 hours.  Remove the cover after 1 hour.  Stir a couple times throughout baking.


To freeze:

Cook and crumble the bacon.  Brown the ground beef with the onion.  While the meat is cooking, mix the beans, brown sugar, white sugar, and ketchup in your 9x13 pan.  Once the meat is done, add that to the bean mixture.  Stir to combine.  Cover with aluminum foil and label.  Place in freezer for up to 6 months.

When you want to cook it, preheat oven to 350℉.  Remove beans from freezer and cook for 2 ½ - 3 hours.  Stir about every hour.  Remove the cover after 2 hours

Friday, July 4, 2014

Bakin' Bacon

In case no one has ever shared the secret to easy bacon, I will let you in on this.  I am surprised that I did not know about this until I was well into my 20's with a husband and 2 kids.  We eat a lot of bacon, but I always hated how long it took to make, and need I mention the mess, the splatters, the burned spots on my hands and arms.  I viewed it as a labor of love.  Once I heard I could just place my bacon in the oven, I had to try it out immediately.  I'm sure Husband loved me a lot more after all the bacon I was making. 

All you need to do is get a baking sheet or two.  Make sure this has edges, no cookie sheets.  Bakin' you bacon will make grease and you don't want that all over your oven, trust me.  Depending on how thick your bacon is, you might be able to use one baking pan per pound.  The bacon I get needs about 1 1/2 sheets per pound.  If you need to, you can even use a 9x13 cake pan.

Line your baking sheets with aluminum foil.  I tried to skip this step to have less waste and my bacon stuck to my pans.  I'm not sure if it's my old pans, but I need to line them.  Using aluminum foil makes for easy cleanup anyways.

Put your bacon on the sheets.  You can make designs if you want.  Weave them together to create a small sheet of bacon for a sandwich, or shape them into hearts or letters for a special treat.  Hearts are nice on Valentine's day.

Place your bacon in a cold oven and then turn it on to preheat to 350℉.  You want to start with a cold oven so that the bacon can cook slow.  Set your timer for 15 minutes.  If it's not as done as you want it, add 5 more minutes to the timer and check again.  Keep an eye on it and check frequently as it gets close to done so you don't over cook it.  I keep my bacon in the oven for about 20 minutes.  If there is a lot of grease after 15 minutes, I will drain it, but that isn't very often.

 
Remove the bacon from the sheets right away so it doesn't continue to cook.  Place the bacon on some paper towels to drain the excess fat.


Then save the grease (if you like to use bacon grease).  I save mine in canning jars with reusable storage lids.  You can find wide mouth lids here and standard mouth lids here.  I use them all the time.  They can even be used for freezer storage (like freezer jam).  I use the standard size the most since I have homemade jam and salsa.

 
Once the pans have cooled, crumble up the aluminum foil and throw it away.  Then the clean up is done.
 

Just think of all the ways you'll use bacon now that it's easier to cook.  I like to use it in baked beans.  I will also make extra and crumble it.  Then I place it in a freezer bag and store it in the freezer until I want crumbled bacon for salad or potatoes.


Wednesday, July 2, 2014

My Favorite Potato Soup Recipe


This tastes so much like Olive Garden's Zuppa Toscana and I love being able to cook it in the crock pot.  I can't stand kale, but I'm all for the nutritional benefits of it.  If it's cooked into a soup, I can't taste the bitterness or strong taste of it.  I also use whole milk in my potato soups.  It's what we have on hand.  I also don't think I need to add salt and pepper, the Italian sausage has enough seasoning for us.  This soup goes great with homemade focaccia bread.

First, sauté the sausage and onion

 
While the sausage is browning, I cut the onions and put them in the crock pot.


I add everything else to the crock pot except the kale and milk.  Those get saved for right before we serve it.


Add the chopped kale and milk.  Once it's warmed back up, it's ready to serve.


Crock Pot Zuppa Toscana


Ingredients
  • 1 lb Italian Sausage
  • 2 tsp red pepper flakes, optional
  • 1 large onion, diced
  • 3-5 medium russet potatoes, cut into bit size pieces
  • 2-3 cloves of garlic, minced
  • 4 cups water
  • 16 ozs of chicken broth
  • 2 c kale, chopped
  • 1 c heavy whipping cream or milk 
  • Salt and pepper to taste
Instructions
  1. In a medium sized skillet, sauté the Italian sausage with the onion and red pepper flakes.
  2. Place the potatoes, garlic, chicken broth, and water into your crockpot.   Cook on low for 6 hours or on high for 3-4.
  3. 30 minutes before serving, with crock pot on low, add in the kale and heavy cream or milk.  Season with salt and pepper.  Let the soup heat through and serve.
 

Wednesday, June 25, 2014

Stop Weeding Your Gardens And Do This Easy Trick


Surprisingly, not many people know that you can easily keep weeds out of your garden.  Weeds not only are unsightly, but they steal the nutrients from the plants you are trying to grow.  Hand weeding takes forever and, I don't know about you, but by the time I'm done weeding, I feel like I turn around and more have snuck up and started growing.  It's a never ending process.  The store bought commercial weed block is expensive and once you want to tear it up, it just shreds.  Chemical sprays, like Round-Up, aren't very good for the environment.  They harm beneficial insects and I don't want that stuff anywhere near my veggie garden.  I don't need to eat poison.  Mulching your garden will help tremendously, especially if you use a mulch that will decompose and feed your plants.  Rocks and plastic mulch will work, but rocks are hard to weed around and very hard to dig in and the plastic will leach chemicals into your beds.

I like to use wood mulch or straw/hay but unless I get it really thick (4 or more inches), I still get a lot of weeds.  Thick mulching prevents soil erosion, retains moisture in the soil, and keeps the roots of the plant warm during the cold winters.  Laying down cardboard or newspapers really helps keep weed seeds from germinating in the ground and weeds from roots already in the soil won't grow through it.  You can even lay it directly over your lawn and not have to de-sod first when putting in a new garden or expanding an existing one.  This makes less work, it saves me from buying lots of expensive mulch, and I can recycle paper and cardboard!  Win, win, win!  Another great benefit of using these materials for weed control is that they decompose and become part of the soil so it feeds your plants.  Another win!

Now you may think, how am I suppose to get tons of boxes or newspaper?  Who gets a newspaper anymore?  You can ask people (Craigslist, friends, neighbors, even enemies - but only if you need to) for leftover newspapers or find a local recycling drop off and get the newspapers from there.  I have found that cardboard boxes are easily found for free from grocery and other stores. Cardboard is the best material to use for weed control in large areas because it's easier to handle then several sheets of newspaper.  The cardboard is also heavy enough that, when wetted, won't blow away like newspapers.  For curved beds, just cut your newspaper or cardboard to follow the curves.  Cardboard is also good for as a base for a lasagna garden or raised vegetable bed.

Some tips for using cardboard:
  • Use brown cardboard only—avoid white, brightly printed or waxed.
  • Remove any tape or staples.
  • Overlap edges by about 6 inches.
  • Water the cardboard well before you add mulch.
  • Poke holes through the wet cardboard if you need to add plants.
  • You can add wood chips, straw, compost, or any other organic material on top.
  • Newspaper can be used instead of cardboard
 If using newspaper is easier for you, use 4-5 sheets (or more).

Since cardboard is a "brown" and carbon rich, include nitrogen-rich "green" materials, like compost, coffee grounds, cured manure. Here’s a little trick: sprinkle a light layer of rotting vegetables on top of the garden area before you put down the cardboard to entice worms. When making a new vegetable garden, cover the cardboard with a 1-3″ layer of composted manure or other finished compost and then cover that with clean straw or leaves.

Will you eventually get weeds?  Yes.  There is no barrier, cardboard or landscape fabric, will stop wind-born seeds or runners that creep over from another area.  If you keep your garden well mulched on top of the cardboard, you will find that weeds are easier to remove or rake through.


Monday, June 23, 2014

My June Garden Update, Problems With Tomato Blight

I went to pick some sugar snap peas and do some weeding on 6-13 (darn Friday the thirteenth) and I ended up trying to save my tomato plants. 

Let's start with the bad and end with the good.  Here is the dreaded tomato blight.  I caught it fairly early, hopefully early enough. 


I have several with affected stems.  I got some dirt and buried the stems.
 
 
This stem is so affected that the plant fell over.


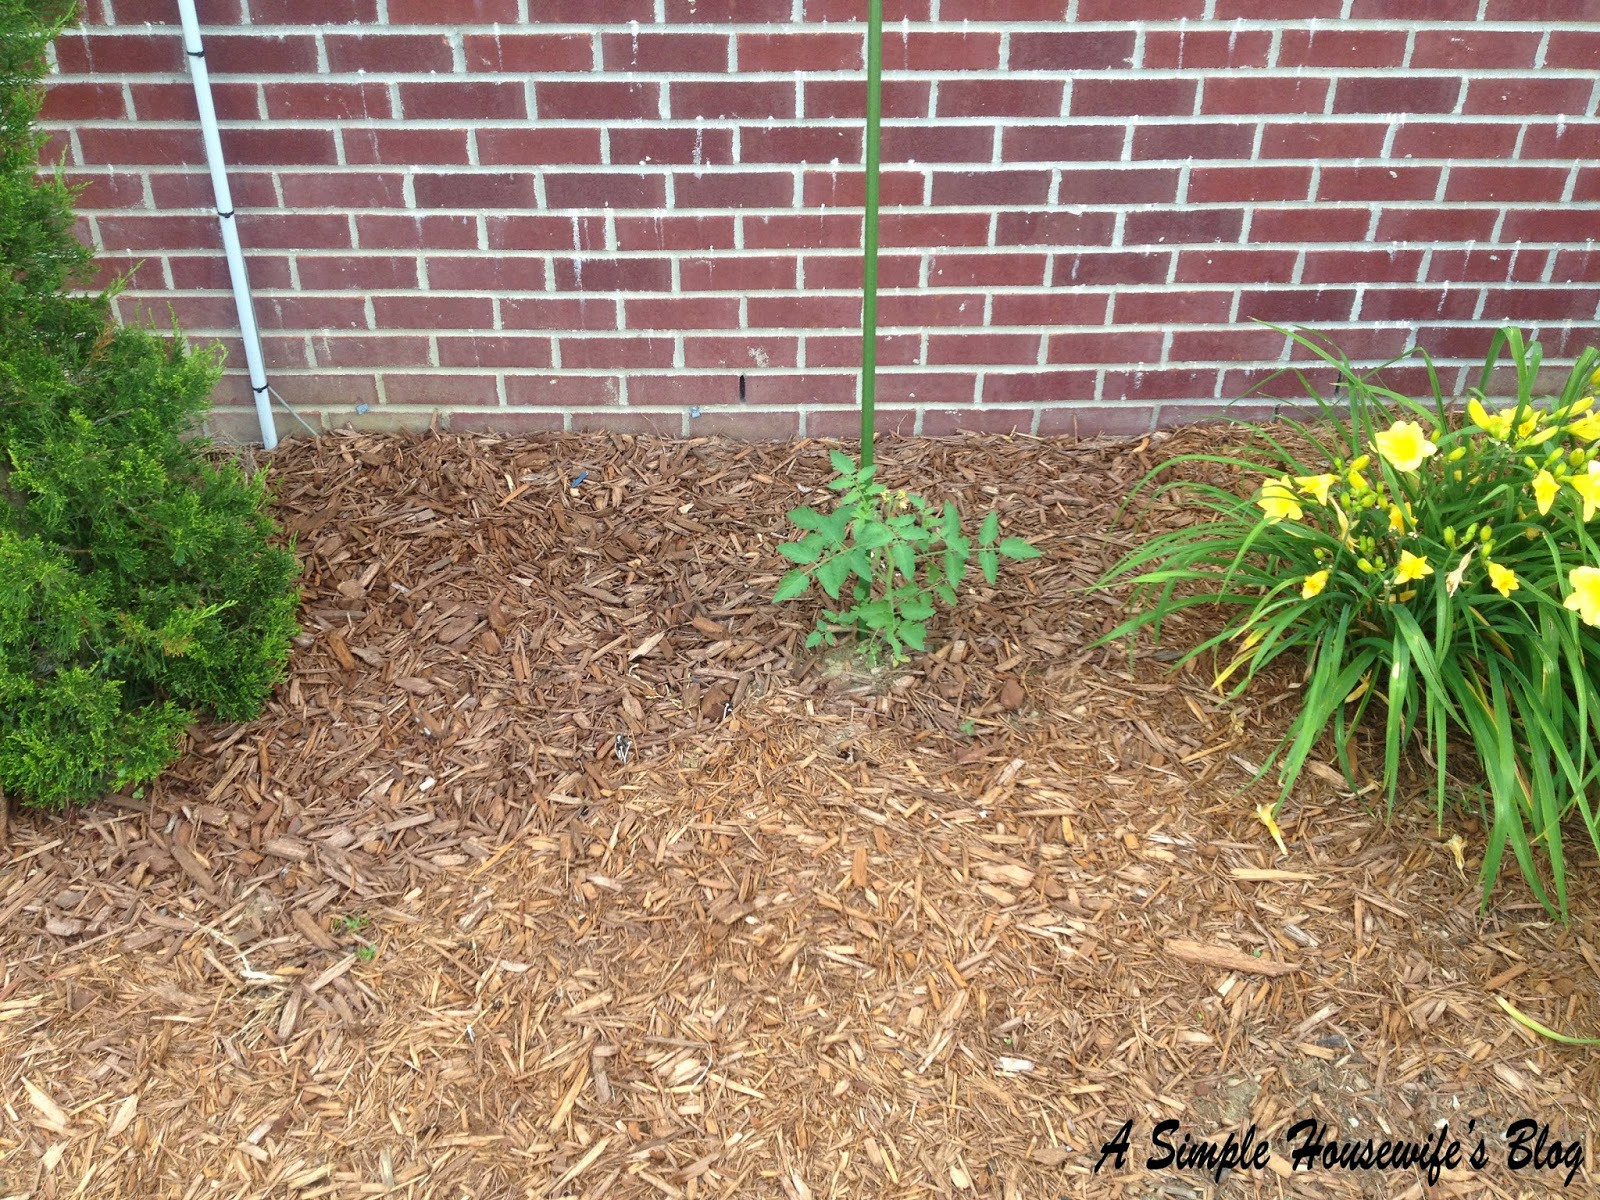
This one doesn't have appear to have any blight on it and is my tallest tomato plant.


 This is one of my zucchini plants.


These pictures will now be from 6-21-14.


Isn't this picture beautiful?  It's a little cucumber, only about 1/2" - 1" long.


My watermelon hasn't died yet.


Zucchini is really growing.  I should be eating some within a week.


This is the tomato that didn't appear to have any blight.  I've got lots of tomatoes on it.
 
 
Super hard to see through all the weeds, but in the front of the picture is pumpkin.  Farther back is cauliflower.  The sides had peas that were just torn out and what remains is the Kentucky wonder green beans I planted about 3 weeks earlier.  Everything else (and there's a lot) is weeds.  It's hard to weed through a trellis of peas.


My jalapeño plant.  I have never harvested peppers, but I haven't stopped trying.


I forgot to weed this before I took a picture, but the rows are carrots.


Cucumbers


Cauliflower

Friday, June 20, 2014

Making Your Own Trash Bag Holder

I keep my trash can in my pantry.  I know that I probably shouldn't keep trash next to the food we eat, but I don't really have a choice.  I would put it at the end of my counter, but then everything the two little ones pick up would end up in there.  They love to pick things up and put them in other things.  Sometimes, when it's time to pick up toys, they can be very helpful.  They also love to take containers and turn them upside down so everything spills out, so sometimes they are the opposite of helpful. 
 
So to protect our valuables, I keep the trash can in the pantry.  They don't yet understand that Mama's phone should not be thrown away and the pretty external hard drive should not be thrown away - the one with all our photos, that I almost didn't catch was thrown away.  I don't know if I missed anything that was thrown away, but I probably have.  That's why I keep the trash can in the pantry, next to our food, that I also protect from being ransacked by insane kids who think it's ok to dump an entire bag of food on the floor and play in it. 
 
I really wanted to have my trash bags off the shelves so I could have more room for food storage.  I found out that I could buy a bag holder for around $20, but that seems like a lot of money to spend on something to hold trash bags.  The one that I want is found here.  I also found that I could use a dowel rod or a paper towel holder of some sort and put the rod through the center of my trash bag roll.  Well, the skinny dowel rod won't fit.  Or at least not very well.  I could have gone smaller, but then I was worried it would break from the weight of my bags.  So I decided I would use a shoe string I had lying around.  It's a heavy duty one, made for hiking shoes.  I used a thin dowel rod to push the shoe string through the bag and tied the ends of the shoe string to picture hangers.  The problem with that is it took several tries and at least five minutes to keep a roll of bags up.  I also had to keep unwinding the string.  Every time I took a bag off the roll, it rolled the string up. 
 
 
Here you can see my pathetic string set up.


When I was getting ready to take the trash out one evening, I was trying to squish my sisters 2L bottle in the trash.  Then a light bulb came on in my head and I grabbed the bottle and decided it was the perfect size to hold trash bags.  I just had to wash it and cut the top off.  It was pretty close to the right size.  The roll of trash bags was a little bit big, but I could try cutting a slit in the bottle.  I pulled out my scissors and cut the bottle.  I had to put the lid on and stab it with a knife to get a hole started.  I'm a little clumsy so I probably should have asked my husband to do this for me, but he was out and I was too excited to do this.

 
I cut a triangle down to the bottom of the bottle.  Can you see it?  The bottom of the triangle is all the way down to where the bump on the bottom of the bottle are.

 
Then I positioned the bottle the way I wanted it in the pantry.  There was just enough room between the trash can and the shopping bag holder.  Then I used my drill and drilled 2 holes through the slit, into the bottle against the wall.  I put in plastic wall anchors for extra support in the dry wall.  Ideally there would have been a stud right where I wanted to but the trash bag holder.

 
Here's the screws and anchors  I used.  I used the biggest ones in here.
 
 
This is what it looks like without the trash bags in there. 

 
Look, the trash bag fits really nicely.  Sure the bottle is a little small, but the edge of the roll rests on the triangle I cut out and I can easily pull a new bag.

 
I have had this in for about a month now and it is holding up really well.  The bottle is holding up and it is staying on the wall.  The best thing is that I didn't have to pay any thing for it!


Tuesday, June 17, 2014

No-Cook, Raw Honey Strawberry Jam


I recently bought some raw honey when we picked strawberries.  After I tasted it and realized how amazing it was, I started thinking up ways to use it.  I would definitely not be baking with it.  That would ruin the "raw" of it.  I don't usually like honey, at least not by itself.  I like to put it in my homemade bread or add some to my tea.  Since we had strawberries, I wanted to try making some honey strawberry jam.  The pectin I usually buy is a cook kind, so I did some research and found out that there is an instant pectin that requires no cooking.  This is the kind I used for this - Ball RealFruit Instant Pectin - Flex Batch.  It was super easy and I'm glad I bought four containers.  I need to buy more fruit now, yum!

First I washed the jars and rings (not the center of the lid, just the screw on ring).  I usually wash them by hand, but I just threw them in the dishwasher with the rest of our dishes.


 My dishwasher has a sterilize setting.  I went ahead and used it.  I don't think it's necessary with cooked jam and long term shelf stable canning since you put the jars in the canner and simmer them until you use them.  Since I was making no cook freezer jam, I went ahead and "sterilized" them.


Look at all the strawberries we picked.  These aren't as sweet as the ones we picked at Spencer Farm in Noblesville last year.  These were a different variety and are about twice as big.  Next time we go, I'll call ahead and see if we can pick in the little sweet strawberry patch.


 I needed to rinse these off.  I filled my sink half full with cold water and added about 1/2 cup of vinegar.


Look at that dirty water!


I put some rags on the counter and let them drip dry in the colander.  I don't need strawberry stains on my counters.


I took the stems and leaves off of about 2 cups of strawberries and instead of mashing them like I have in the past, I used my awesome Ninja blender that Husband got me for Christmas.  I used the pulse button a couple times and it chopped them up really nicely.  It works better for smaller batches.  When I filled it up and tried this, I had to pulse it a lot more to get all the strawberries chopped and ended up pureeing a lot of it so it was not as chunky as I like.  As long as I stayed around 7 cups or less, it worked great.  The strawberries need room to move around.  The model I have can be found here, complete with single serve blending cups.  It's currently marked down!


Nicely chopped and ready to be made into jam.


I put the strawberries in a bowl and added 1/2 cup of honey and 2 tablespoons Ball instant pectin.


Then I stirred it for 3 minutes.


I poured it into my half pint jars.


I then let it sit on the counter for 30 minutes to set up.  I turned it gently once about 12-20 minutes into it since the strawberries were all floating near the top so that the strawberries were dispersed throughout the jam.


I was a little concerned this wouldn't set up with honey since it's liquid and sugar isn't, but it actually set up a little thicker than the patch I made with sugar.  This also tastes so much better.  It has more depth to the flavor then the sugar sweetened one.  It was also so fast to make since I didn't need to cook the pectin.


No-Cook, Raw Honey Strawberry Jam

makes 2 half pint jars

1 2/3 cups mashed strawberries
2 Tbsp Ball RealFruit Instant Pectin
1/2 cup raw honey
(Do not make more than 6 jars per batch or it may not set up.)

Stir pectin into fruit slowly to avoid clumping.  Add honey.  Stir for 3 minutes.  Spoon or ladle into clean freezer jars.  Let stand at room temp for 30 minutes.  Enjoy now, will keep in fridge for about 3 weeks, or freeze for up to one year to enjoy later.

Plastic freezer jars or glass jars with straight sides are recommended.  Leave 1/2 inch headspace to allow room for expansion during freezing.